Six ice cleat safety rules for Grotto Canyon near Canmore
The creek bed in Grotto Canyon is frozen water (smooth in places and lumpy in others), and boots alone slide on it. Every tour on this site hands out ice cleats. These six rules cover how to walk in them and which parts of the ice to leave alone.
1. Strap the cleats over proper winter boots
Ice cleats, often sold as microspikes, are a rubber harness with short metal spikes and chains under the sole. You stretch the harness over your boot, and the spikes bite into the ice with every step.
They need a firm boot to hold on to. Insulated, waterproof winter boots with a stiff sole keep the harness in place, while soft trainers let it twist sideways until the spikes sit under your arch.
Check the fit before you step onto the ice. The front loop should sit over the toe and the heel loop snug at the back, with the chains flat under the sole. The clothing guide has more on choosing boots.
Recheck after the first few minutes. Harnesses loosen as the rubber stretches, and a cleat that slips half off is worse than none because it snags on the ice.
2. Walk with flat feet and short steps
Cleats only work when the spikes touch the ice. Put your whole foot down flat on each step instead of landing on your heel the way you walk on a pavement.
Shorten your stride and keep your weight over your feet. On a slope, turn your toes slightly outward on the way up, and bend your knees a little on the way down.
Lift your feet clear rather than shuffling. Spikes that drag can catch on a ridge of ice or on the hem of your snow pants, which is a common way to trip, so tuck loose hems into your boots or wear gaiters.
Take the cleats off before you step onto bare rock or the floor of the van. Metal spikes slip on hard smooth surfaces, and they wear down fast on stone.
3. Use poles for balance
Hiking poles give you two more points of contact, which helps on the sloped and uneven ice near the falls. Discover Banff Tours hands out poles along with cleats, while the other listings mention only cleats.
Set the poles so your elbows bend at about a right angle on flat ground. Plant them slightly ahead and to the side, and never hang your full weight on them, since a pole tip can skid on hard ice too.
If you walk on your own, bring poles with hard tips and small baskets. The guide to walking without a tour lists the rest of the kit you would need.
A new Canmore walk that starts with a safety talk
Canmore Raft Tours meets at its base in Canmore and drives 15 minutes, then gives a safety briefing before about 2.5 hours guided in the canyon with cleats, from ~$93. Groups stay at 10 or fewer, and a brewery tasting follows. It is new on GetYourGuide, with no reviews yet.
4. Walk where the guide walks
The frozen creek is the trail, and its ice is not the same thickness everywhere. Water keeps moving underneath, so a patch can look solid on top while the creek flows a short way below.
Stay on the line the guide picks, one behind the other where the canyon narrows. These are the spots to step around:
- Grey or dark patches, which can mean thin ice or water on top
- Places where you can see or hear running water
- Snow lying over the creek that hides what is underneath
- Cracked ice that sounds hollow when someone ahead steps on it
Fresh snow makes this harder. When the creek is buried you cannot see the ice at all, and a guide who walked it recently knows where the weak parts were. Bare blue ice is never guaranteed on any visit.
5. Watch for wet ice after a warm spell
Canmore and the Bow Valley get Chinook winds, warm dry gusts that can lift the temperature above freezing in a few hours. The ice then softens, and a film of water spreads across its surface.
Wet ice is the most slippery kind, and even cleats grip it less well. Slow down and shorten your steps further, keeping both poles planted whenever the surface shines.
Check the forecast and any message from the operator the day before. All four tours allow free cancellation up to 24 hours ahead, and the month-by-month guide shows when thaws are more common.
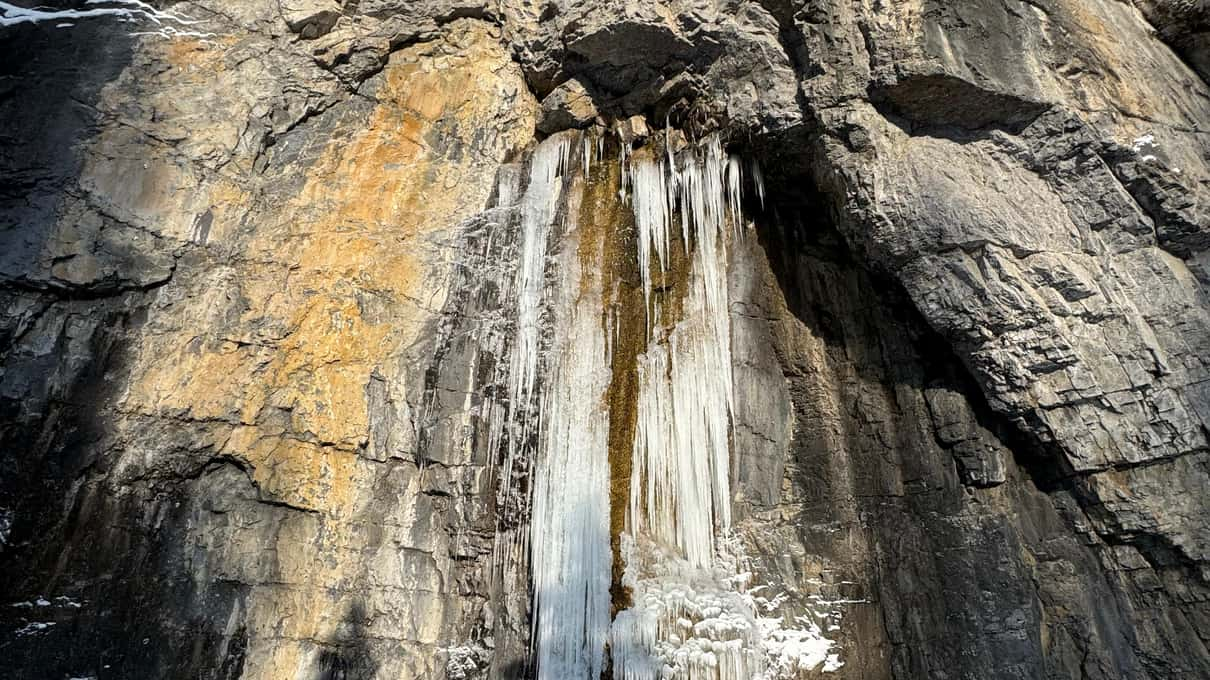
6. Keep back from the base of the frozen falls
The walk ends at frozen waterfalls where the canyon forks. Pieces of ice break off the columns, most of all on milder days or when someone is climbing them, and they land hard at the bottom.
Ice climbers often practice on these falls roped up with axes and crampons. Watch them from a distance and never stand underneath a climber.
Take photos from where the guide stops the group, which is usually far enough from the ice and still close enough for a good view. Our page on children covers keeping small walkers clear of the falls.
Which tours hand out cleats
All four tours on this site include ice cleats, so you do not need to buy a pair for a guided walk. Discover Banff Tours adds hiking poles, which none of the other listings mention.
Discover Banff Tours from ~$78 and 1000HOST from ~$106 both drive guests from town and provide cleats for the walk. The Journey day from ~$70 spends time at the Grassi Lakes first, where the trail can be icy too.
Prices and pickups differ more than the gear. The price comparison sets the four side by side, and the pictograph guide explains what to look for on the canyon wall during the walk in.